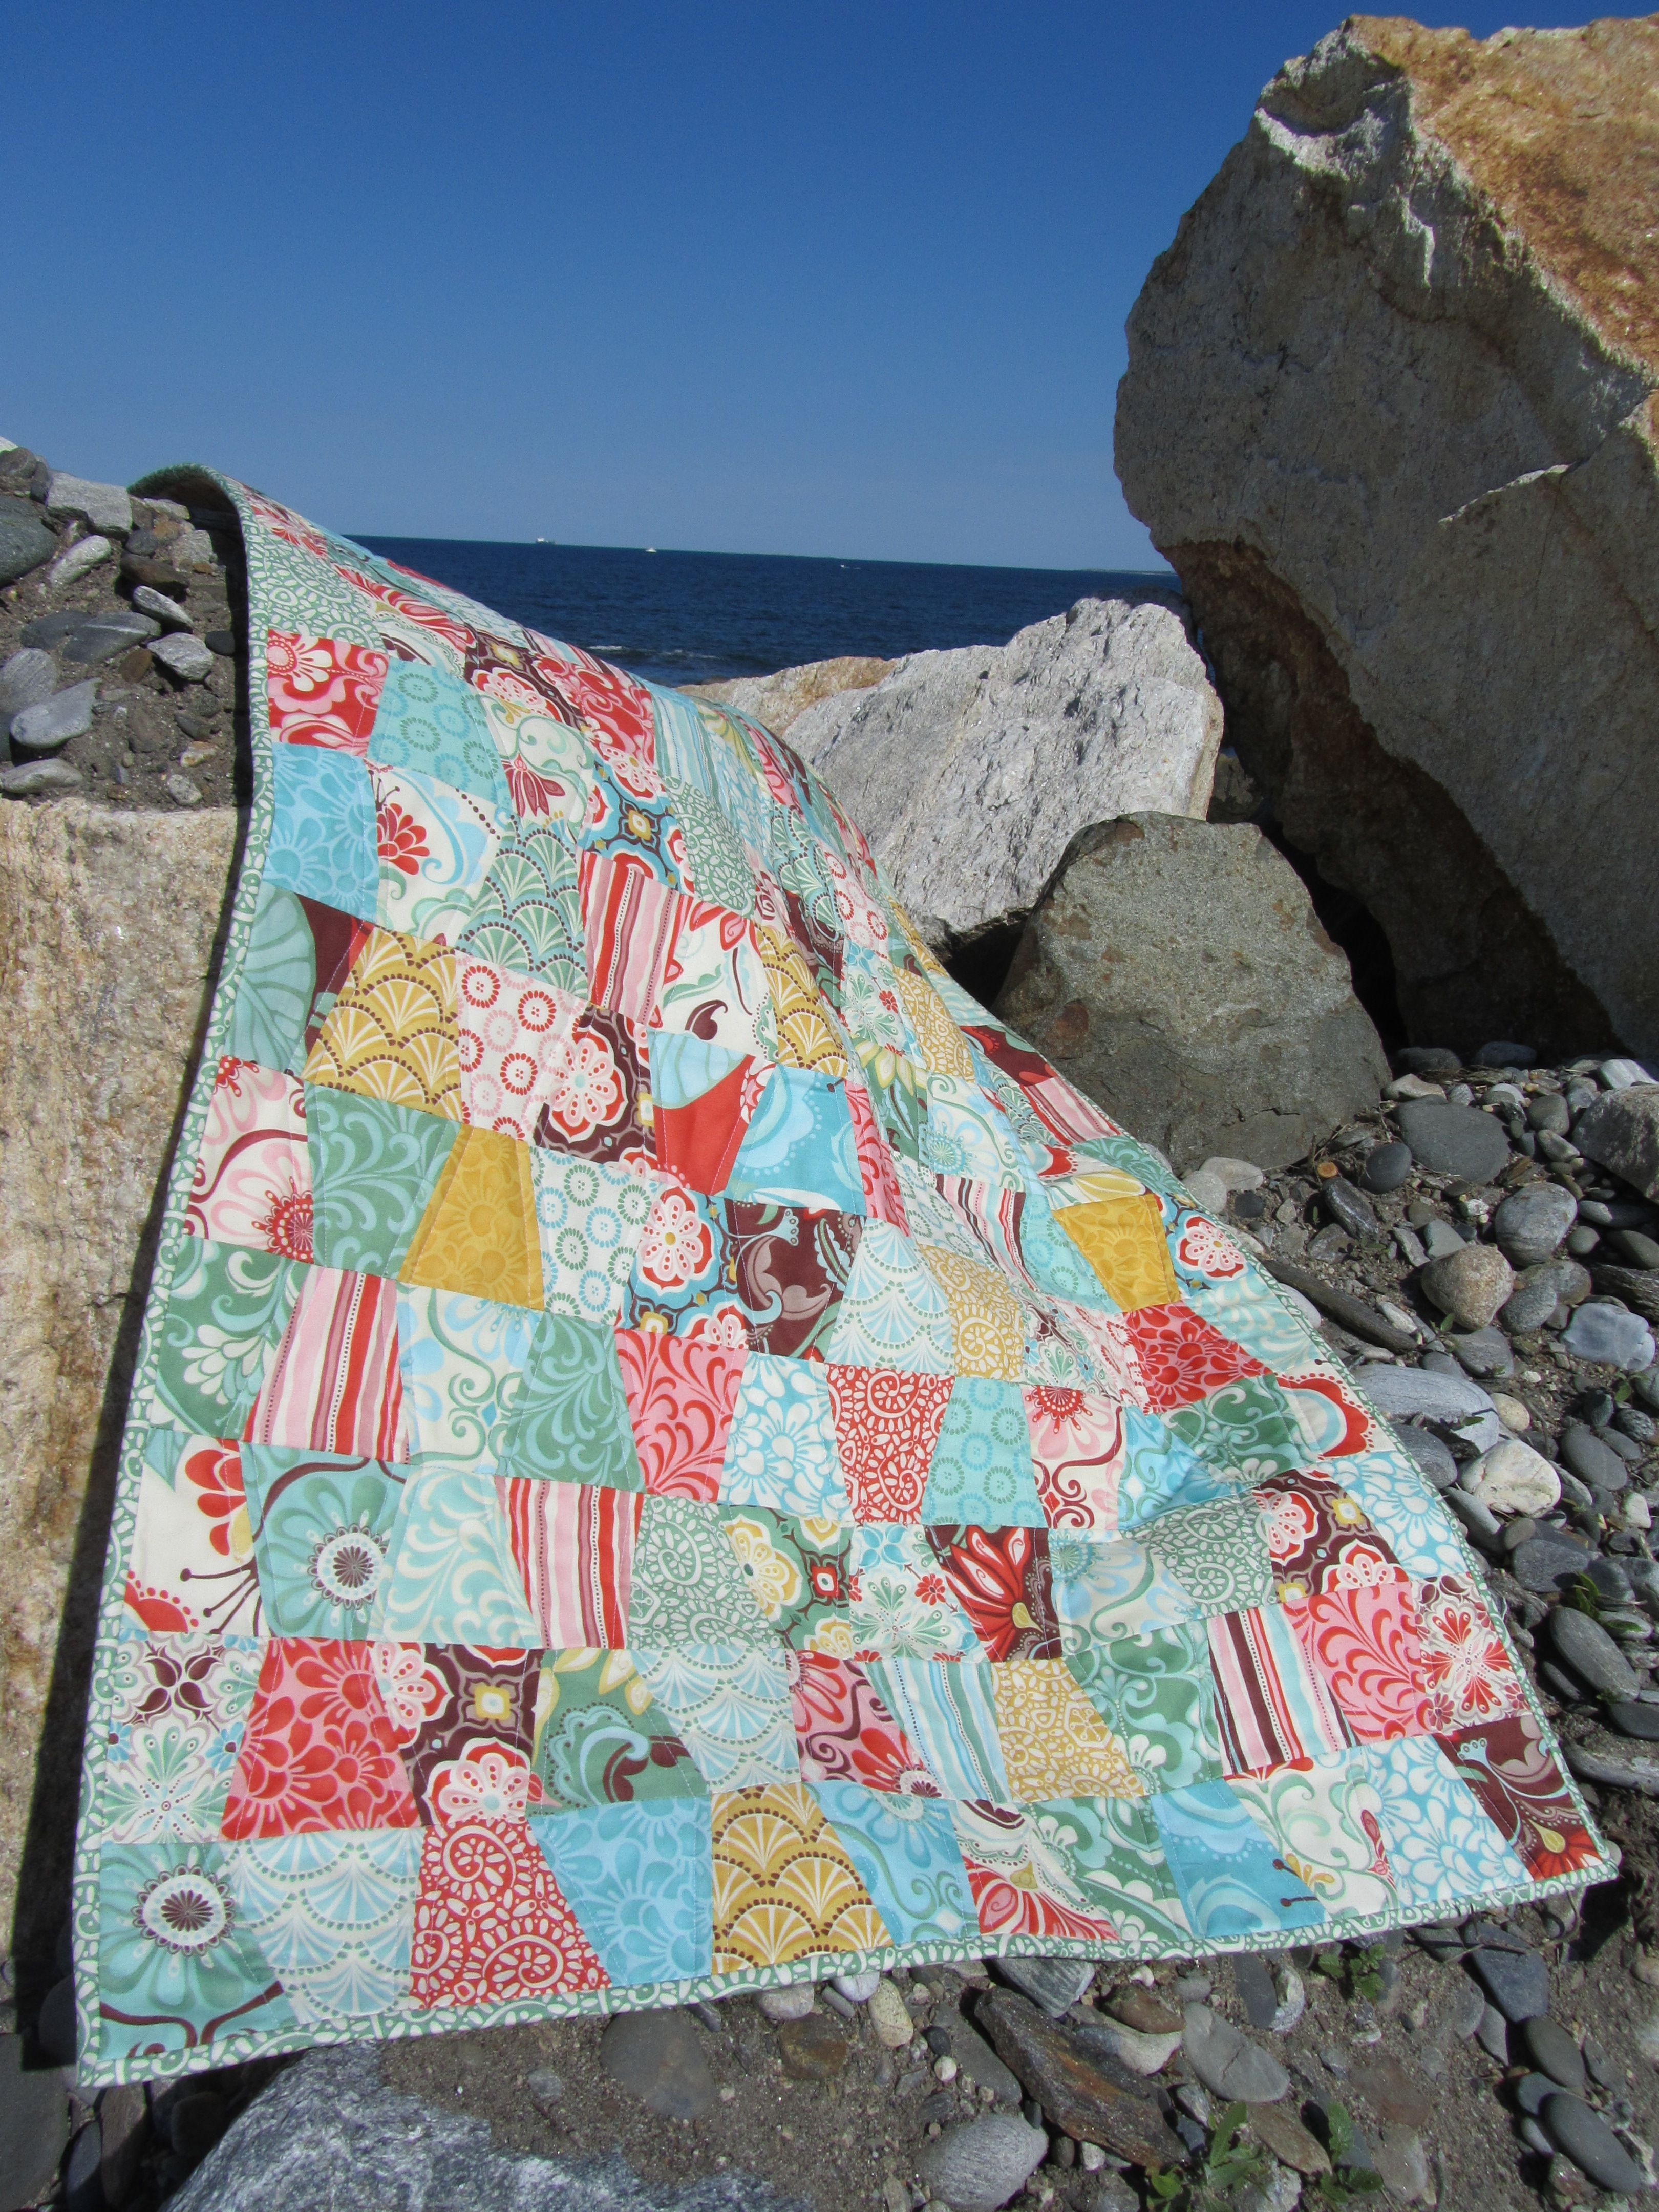
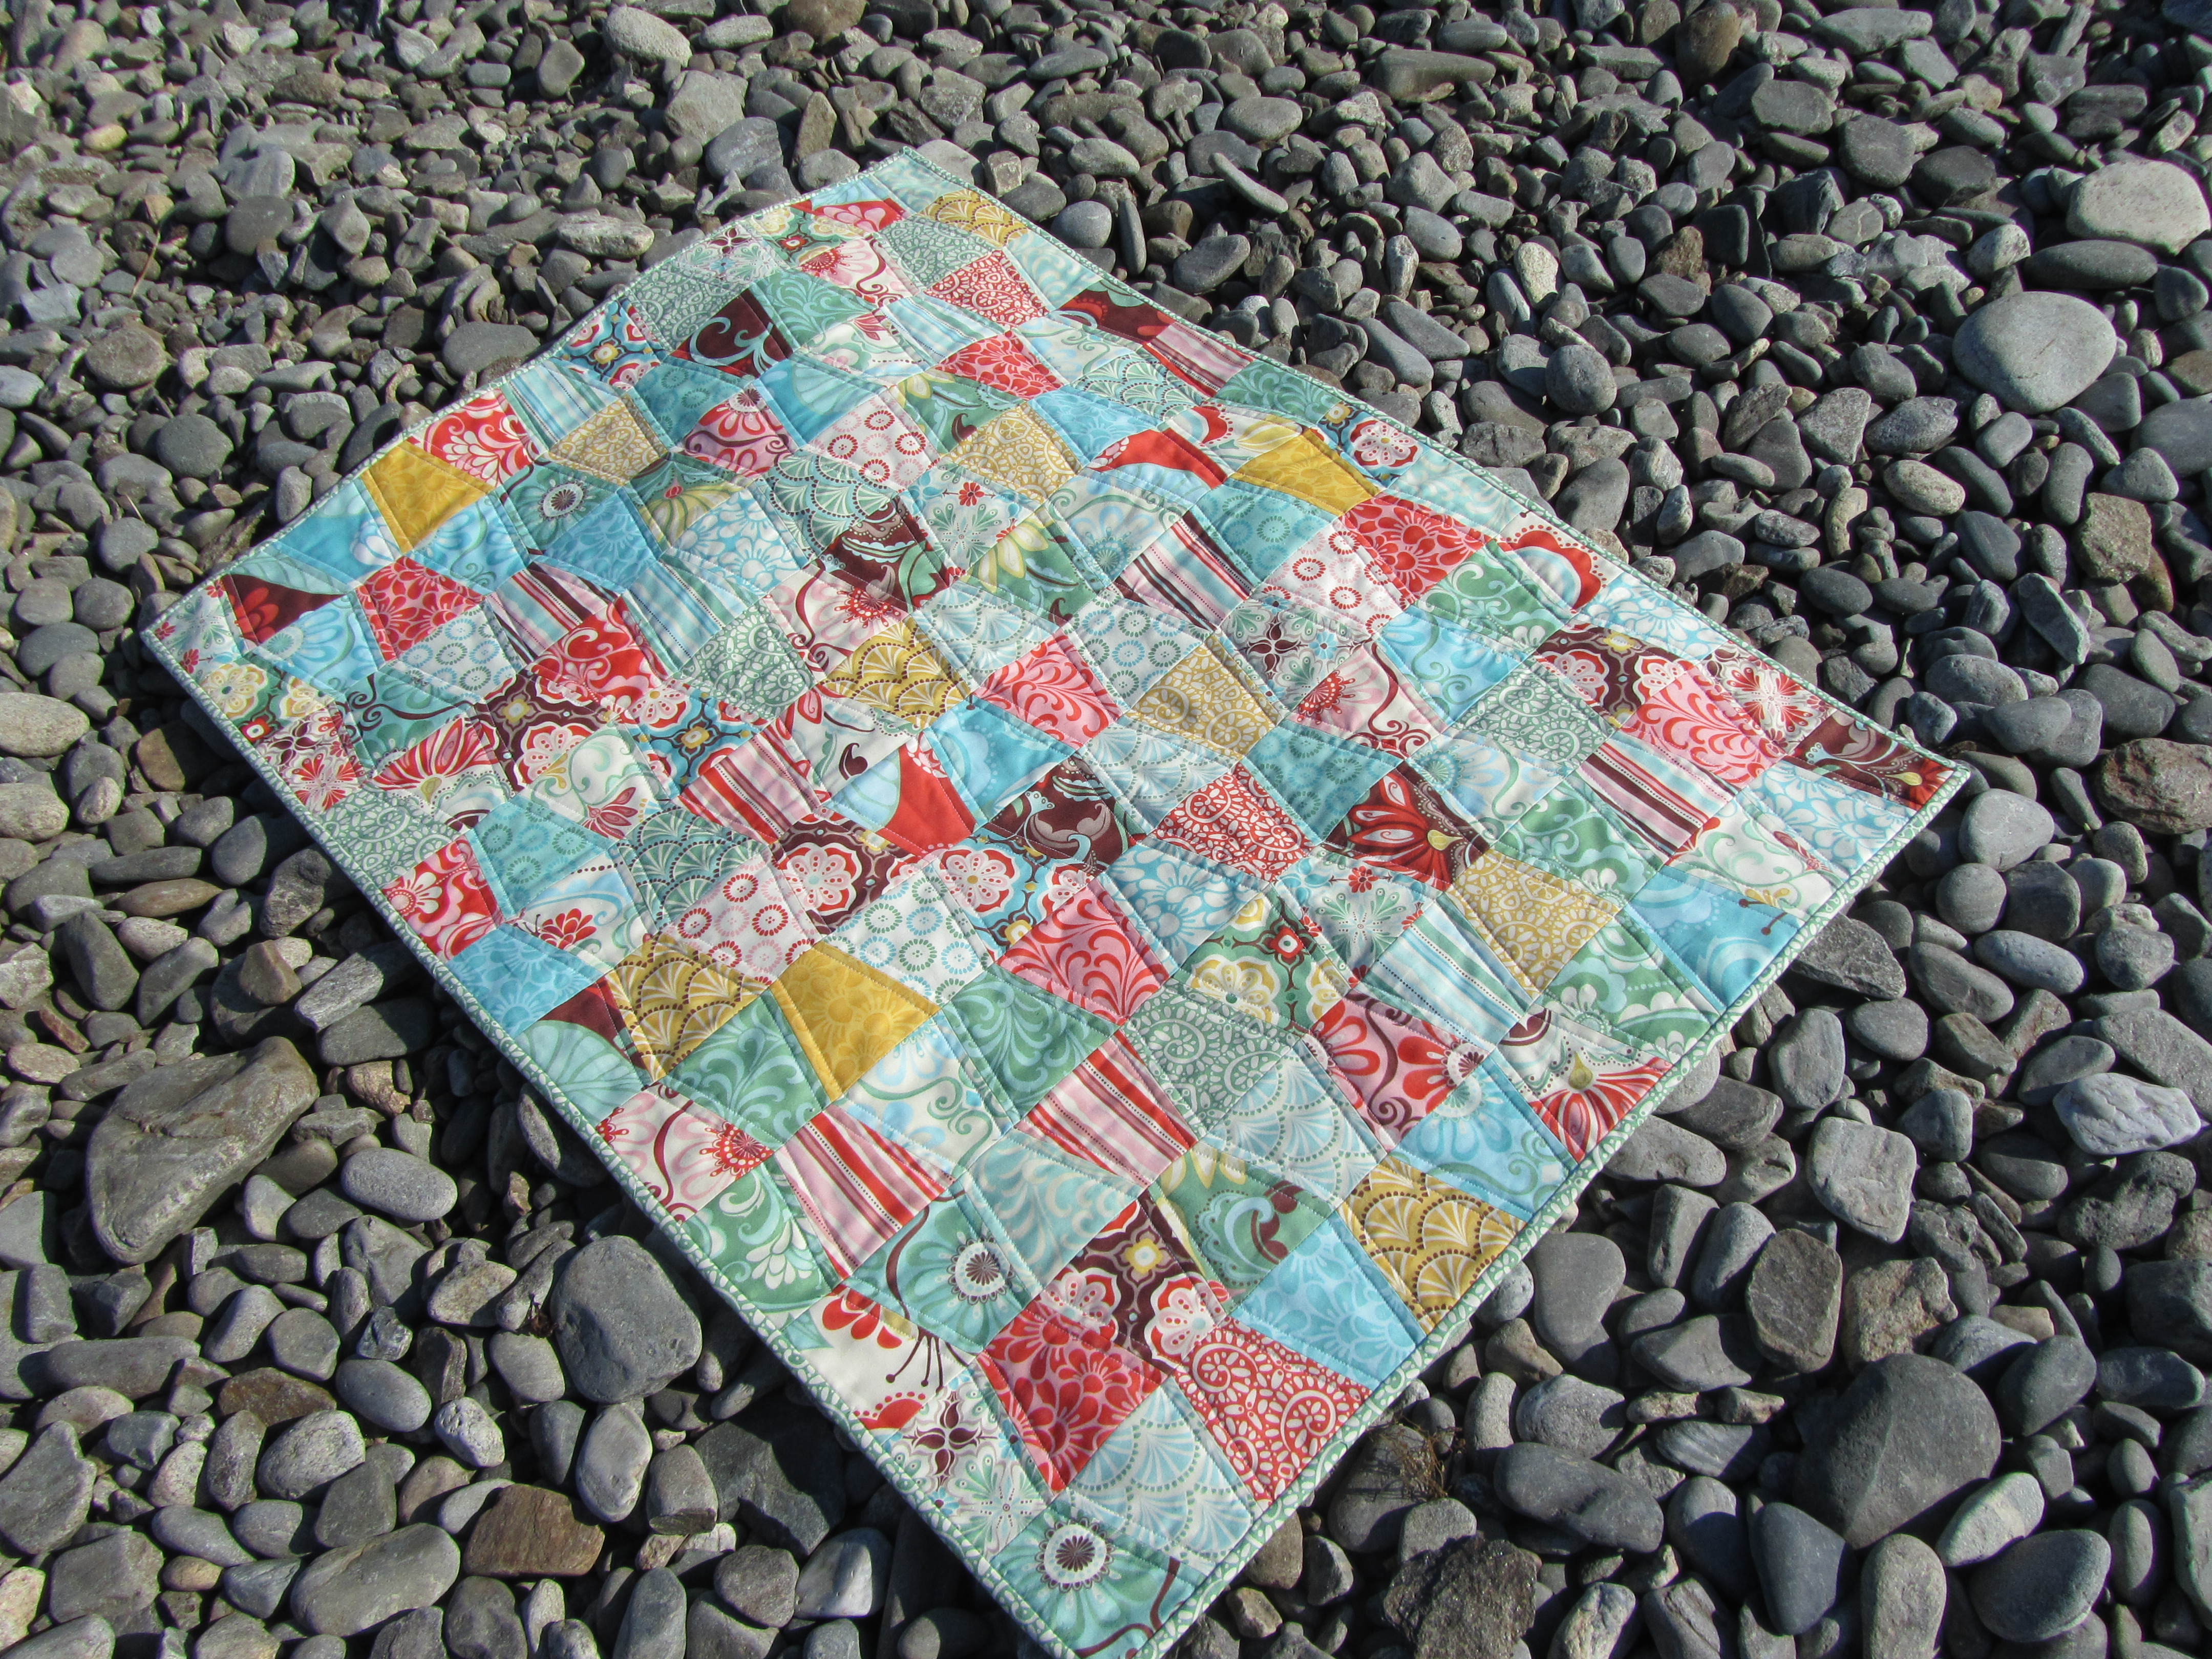
This is a quilt that I designed a while back and I wanted to share a tutorial on how to make it. I made this quilt using four charm packs and some coordinating yardage. The whole quilt is made using Basic Grey's Sultry line.
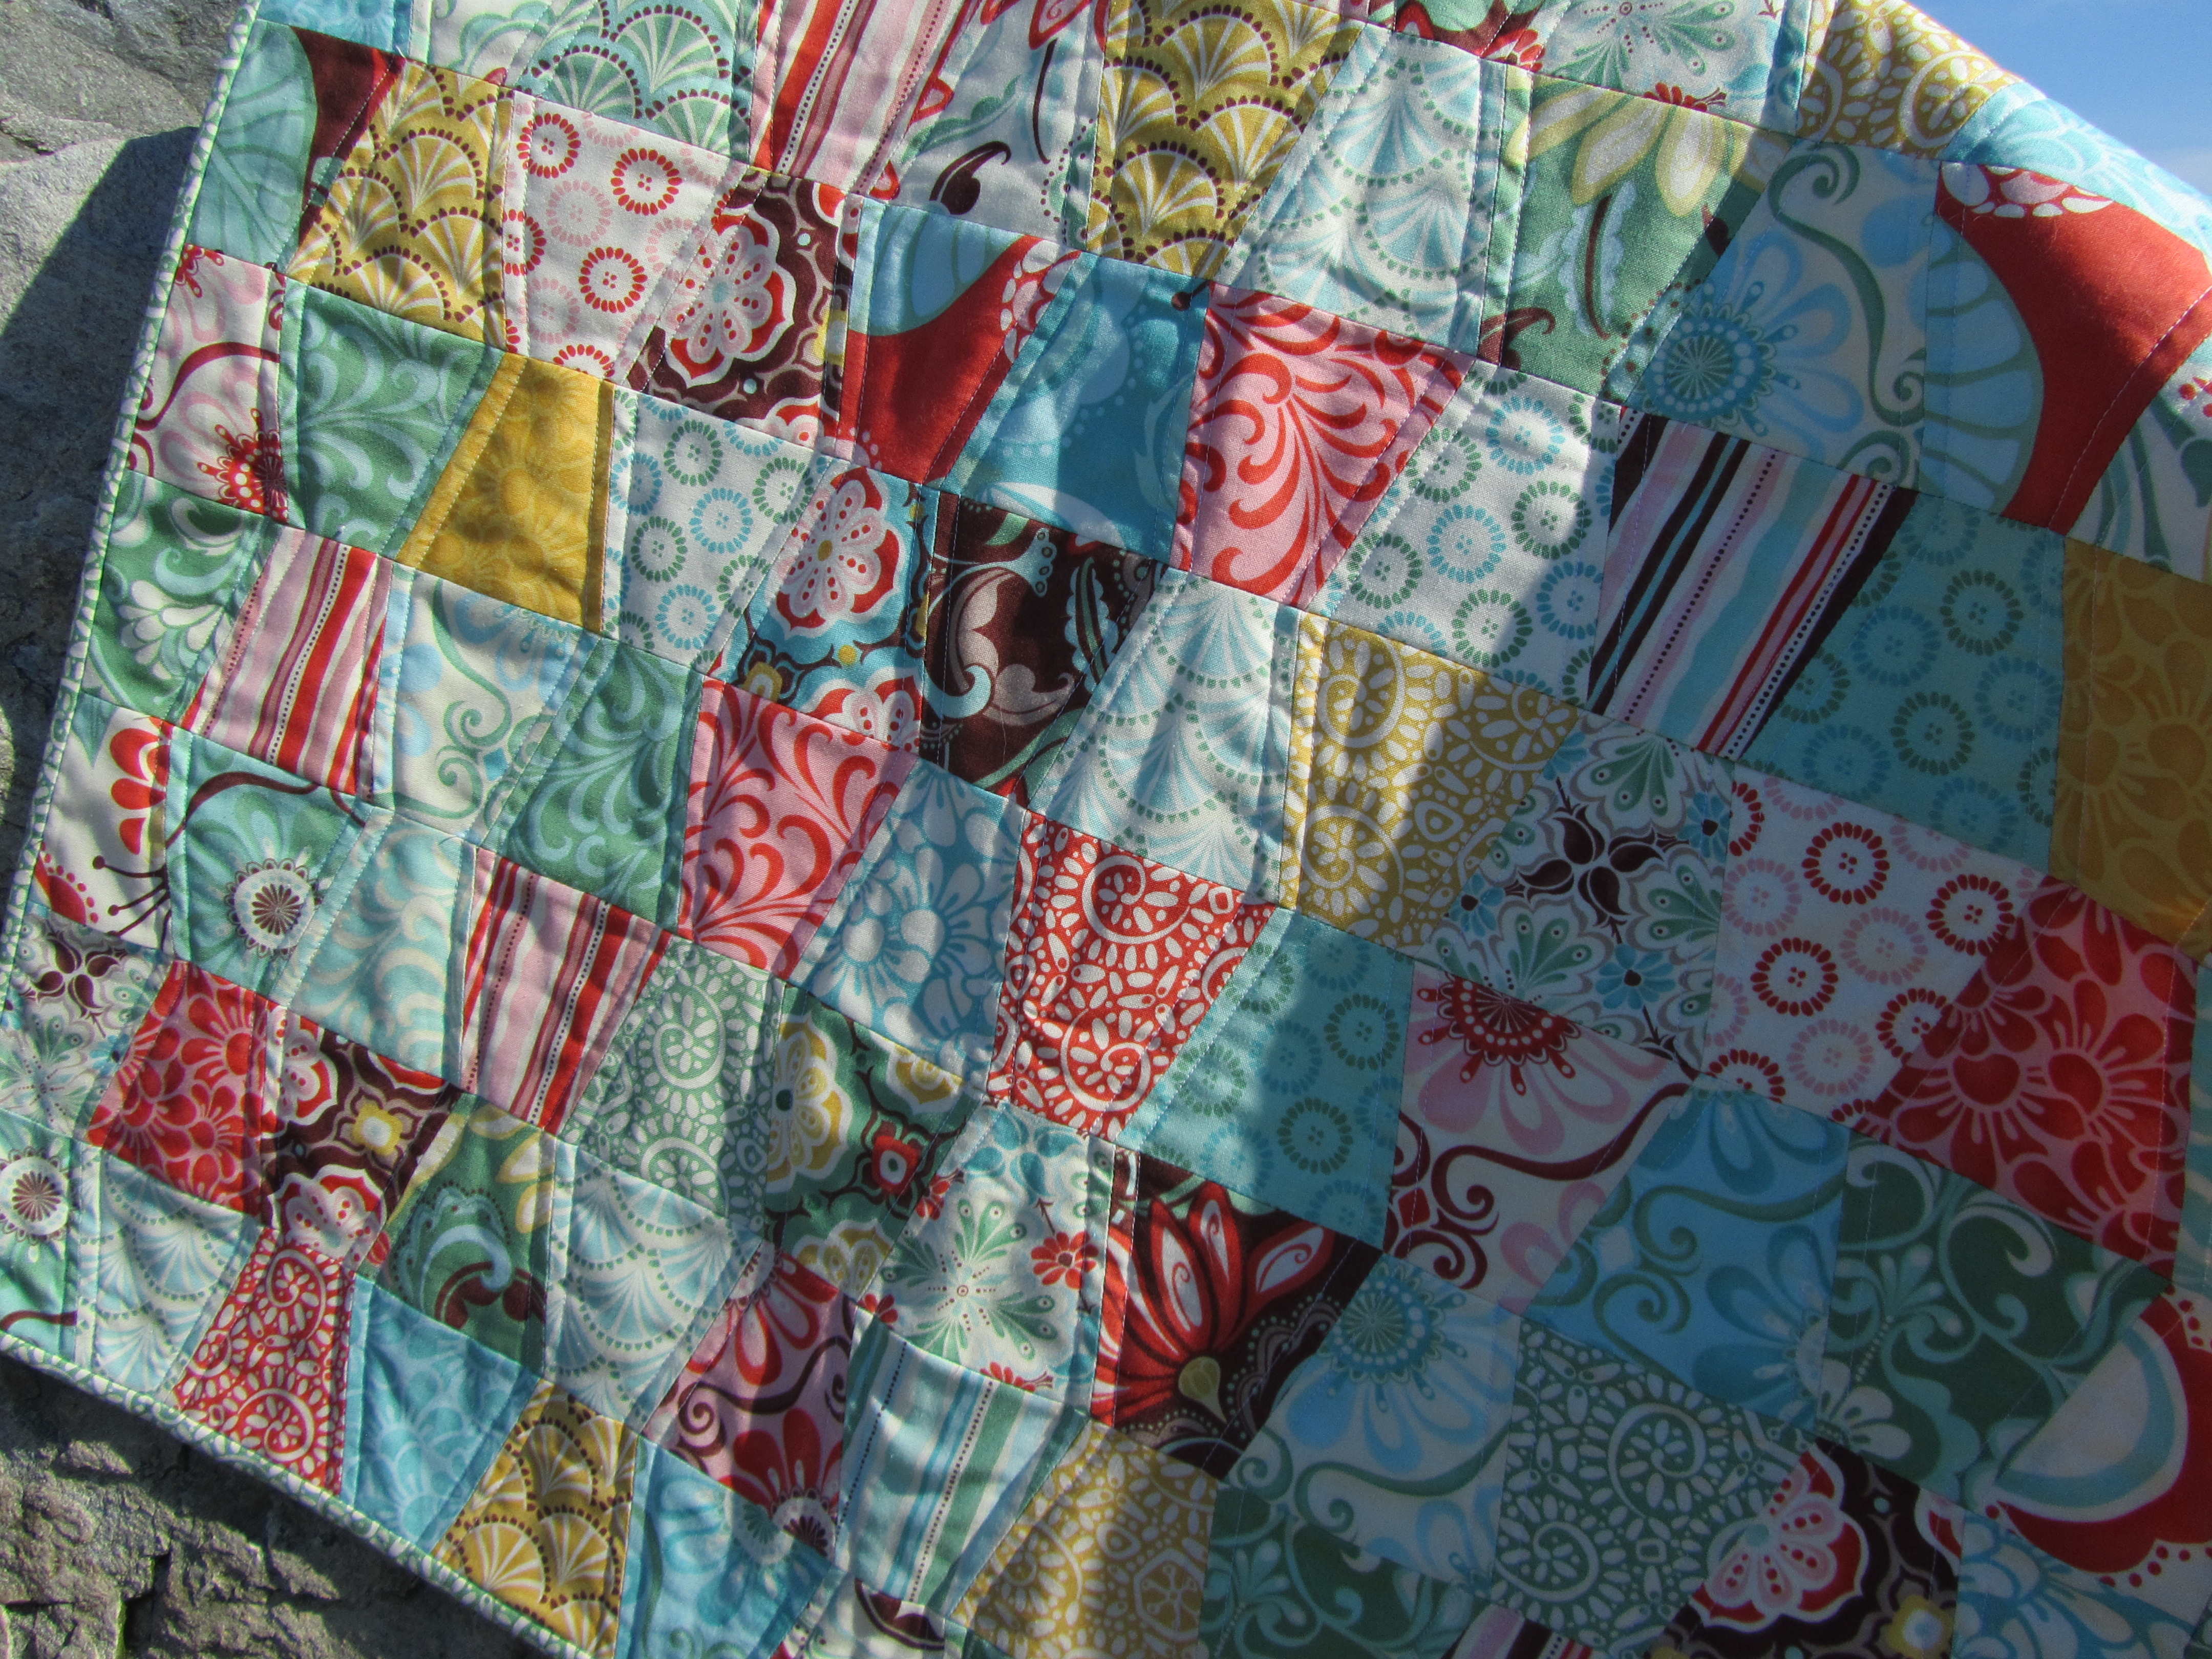
Here you can see what a basic block looks like. It's a crazy nine patch that is sashed using a very light pink and then all of the blocks are sashed using a medium pink. I didn't want a lot of contrast in this quilt, so I went for a lot of light and a few medium value fabrics to coordinate with the charm packs.
This tutorial is for the lap quilt, but I am also providing a materials list for other sizes should you want to make something smaller.
For this project, the numbers are for the lap quilt pictured
above.
If using fabric other than charm packs, cut your fabric into
the required number of 5” squares.
Block Sashing (light pink)
1. Cut
the sashing fabric into 26 strips
that are 1¼” x WOF (Width of
Fabric).
2. Cross
cut your sashing into 72 strips that measure 3 1/3” x 1¼”.
3. Cut an additional 48 sashing strips that measure 11” x 1¼”.
4. From
the final 1 ¼” strips, cut 24
sashing strips that measure 12½” x 1¼”.
9. From
the border fabric, cut 6
strips
that measure 6” x WOF”.
Directions
Note: All seams are ¼”
Preparation
1. Make 12 piles of nine 5” charm squares to create your crazy nine patch block. Make
sure you have a good variety of colors in each pile so that one grouping
doesn’t stand out more than the others.
Sewing the Crazy Nine
Patch
Repeat these steps for
each grouping.
1. CAREFULLY align each pile so that all nine squares lie directly on top of each other. It’s easiest to do this on your cutting board so that you don’t need to move your perfectly aligned pile and reposition it after you move it.
Aligning the piles is the only area where you’re going to need to be very precise, the rest of this step will require you to let loose.
2. Place your ruler vertically about a third of the way in on the left and at a slight angle. Cut through all 9 layers of the pile.
3. Take
ONE piece of fabric from the TOP of the smaller cut piece on the left and
move it to the back of that same pile.
Throughout this entire section, you will
always move the smaller
piece of fabric.
4. Being
careful not to change the order of the pile you just cut, sew the cut
pieces together. It
is helpful if you chain piece the fabrics and keep them connected until
after you’ve ironed all of the pieces to ensure that the order will always
stay the same.
5. Iron
the rectangle and stack the pieces one on top of each other in the same order that you sewed your pieces.
6. On the
right side of the now rectangle, place your ruler vertically about 1/3 of
the way in at a slight angle and cut through all 9 layers.
7. Take
TWO pieces from the smaller, cut side on the left and move it to the back
of the pile.
8. Repeat
steps 4 and 5.
9. Rotate
the block 90 degrees to the right and place your ruler vertically on the
pile about a third of the way from the left from the top and at a slight
angle and cut through all 9 layers being careful not to move the pile
around when cutting through the sewn seams.
10. Take
the top THREE pieces of fabric from the top, smaller cut section and
move it to the back of that section. Remember, you're always moving the smaller cut pieces of fabric here.
11. Repeat
steps 4 and 5.
12. Make
your final cut by positioning your ruler vertically about a third of the
way from the right of the pile and make your cut like in step 9.
13. Take
the top SIX pieces of fabric from the top of the smaller piece at the
bottom of the section and move it to the bottom of that same pile.
14. Repeat
steps 4 and 5.
15. Square
up your crazy nine patch to 3½” square. You can square up the nine patch at a
slight angle if you want the block to look even more interesting.
16. Repeat
the entire step for each set of nine patches that you plan on making.
Tips:
·
Mix up your angles so that your blocks look different
from each other. If they all look the
same then you loose some of the crazy nine patch effect.
·
Make sure you cuts at least ½” from the
edge of the squares when creating your crazy nine patch blocks to avoid any one piece from being too small.
·
ALWAYS move the SMALLER piece from the cut
section from the top to the bottom of the pile.
·
Use a new, sharp blade in your rotary cutter to make
cutting through nine layers of fabric much easier.
·
Remember, it doesn’t need to be perfect, these
squares are meant to look different!
·
Because you’re going to square off your block,
you might want to make the center a bit smaller when cutting and sewing to
allow for some extra fabric to be cut off on the outside blocks during the
squaring process.
·
Chain piece your pieces together and don’t snip
the thread until after you’ve ironed the pieces to ensure that the order never
changes.
Block Sashing
These instructions are for one block. Repeat for each nine patch grouping.
1. On a
design wall or other design surface, lay out your 9 nine patches into a
3x3 layout until you’ve found a layout you like. Depending on the fabrics you’ve chosen,
you might need to do some rotating of the blocks to find an appealing
layout.
2. Arrange
and sew block sashing strips in each horizontal row to form three horizontal
strips in the following order
{sashing,
block, sashing, block, sashing, block, sashing}.
3. Take 4 of the 12½” x 1½”
strips and place them vertically in between the
newly formed strips and on the top and bottom and sew together. This should give you a 12½” square.
4. Repeat
for each block.
Quilt Sashing
1. Using
the12 ½” x 2¼”
strips, sew the sashing in between three quilt blocks in the following order
{block, sashing, block, sashing, block}. You will not be adding sashing to the outside of the row right now.
2. Sew
the five 40” x 2 ¼” strips to the pieces created in the previous step to begin assembling your quilt top.
3. Sew the 2½” x 58” strips to the last two unsashed sides of the quilt top.
Borders
1.Create two strips from your border fabric that measure 6" x 58" and sew them to the sides of the quilt.
2. Create two strips from your border fabric that measure 6" x 55 ½" and sew them to the top and bottom of the quilt.
Finish your quilt!
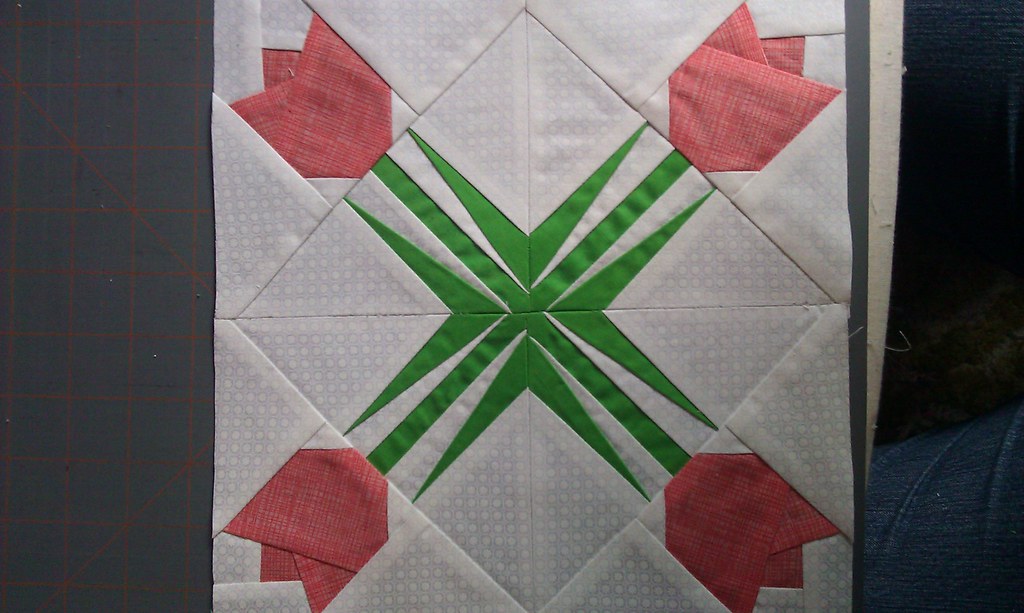
 I added the flying geese to the corners of the border. I really like how it came out here. This quilt will go back to my aunt KK the next time I see her.
  And yes, those geese are paper pieced. I couldn't get away with not doing some form of paper piecing on one of these quilts. I had been wanting to do flying geese on one of these as well and was happy when this one seemed to call for it.